AWeber
This documentation will show you how to take your ViralSweep giveaway and integrate it with AWeber so that you can start sending your entrants email addresses right into any AWeber list.
This documentation has been depreciated.
Please visit https://support.viralsweep.com/ for our updated documentation.
1) Click the integrations tab
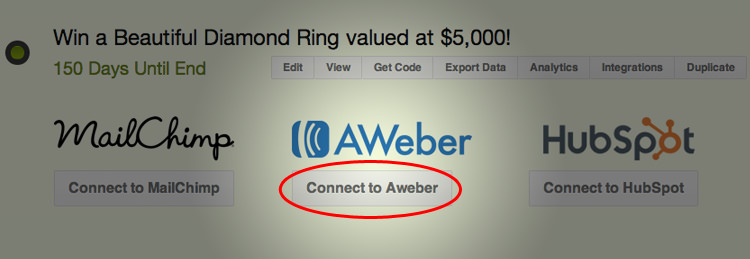
Once your giveaway is fully set up, you will see the integrations button in your dashboard. Click the button to reveal the integration options.

Once the integration options appear, click the connect to AWeber button.

2) Login to AWeber
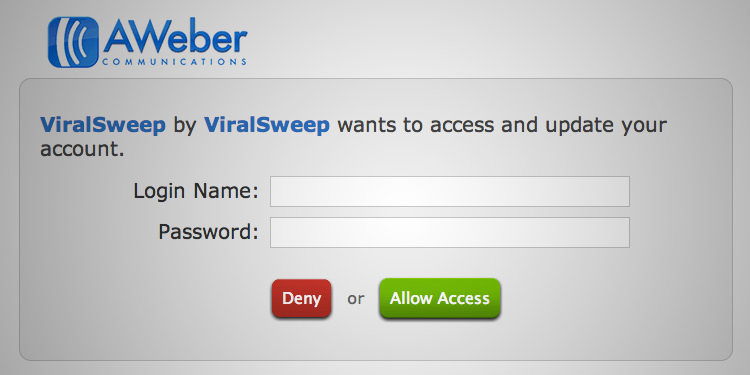
Enter your AWeber account credentials to login to AWeber.

3) Choose a list
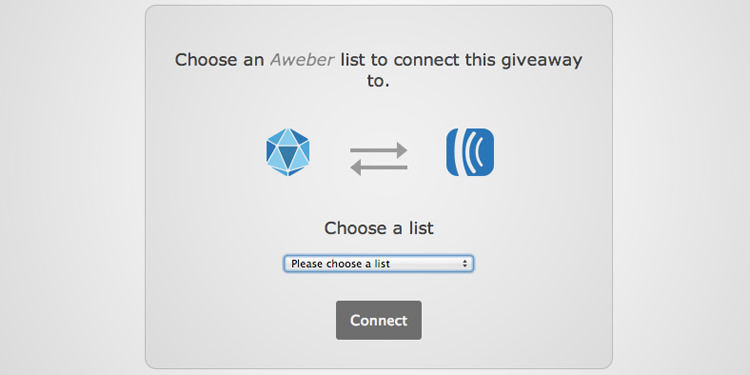
Click the drop down menu and select the list that you want to add leads to. Once you pick a list, click connect.

4) Connection complete
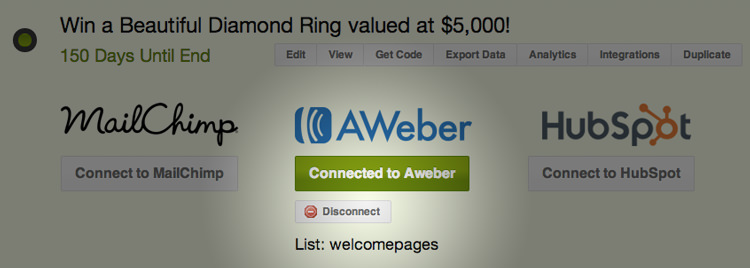
You'll be redirected back to your dashboard after the connection is complete. Click the integrations button to see that you are connected to AWeber. You can see which list you are connected to, and you can disconnect at anytime.

Troubleshooting
If you have connected your giveaway to AWeber and email addresses are not being added to your list, these are the most common reasons as to why:
Email already in AWeber list
The email address entered into the giveaway may already be in your AWeber list, so it will not be added again.
Email already entered into VIralSweep
The email address entered into the giveaway has already been entered into the giveaway, so therefore it is not passed to AWeber.
User did not opt-in
The user did not click the link in their double opt-in confirmation email that was sent to them. If they don't click that link, they won't be added. AWeber does not allow you to disable the double opt-in email through their API.
Delay in reporting
AWeber is having a delay in reporting. Try checking again in a few hours.
Changing the double opt-in email
AWeber has the double opt-in requirement in place in order to ensure that you are building an email list of high quality leads that want to receive emails from you. This is a necessary requirement to keep your spam complaints low so that you can have a high delivery rate.
The standard double opt-in email that AWeber sends out is something you will want to tweak in order to have it apply to your giveaway, which will help increase your opt-ins.
Here is how to change the content of this email:
Change the double opt-in email
In your AWeber dashboard click 'List Options > List Settings'
At the top click on 'Confirmed Opt-In'
From here you can edit the text of the subject and body of the Confirmed Opt-In email. We suggest changing the text of the email to relate it to your giveaway. A good example would be "Thanks for entering. Please click the link below to confirm your entry."
AWeber API single opt-in
As of late November 2014, AWeber has started to allow single opt-in through their API on a case by case basis. You need to contact AWeber and have them approve your account or lists for single opt-in through their API. In order to do this, send an email to [email protected] or use their contact form.
Any questions? We're here to help
You can reach us at [email protected] or talk to us on live chat if we are available.
Updated less than a minute ago
